
Building A Drum Riser Vs Buying One
Feb 21, 2023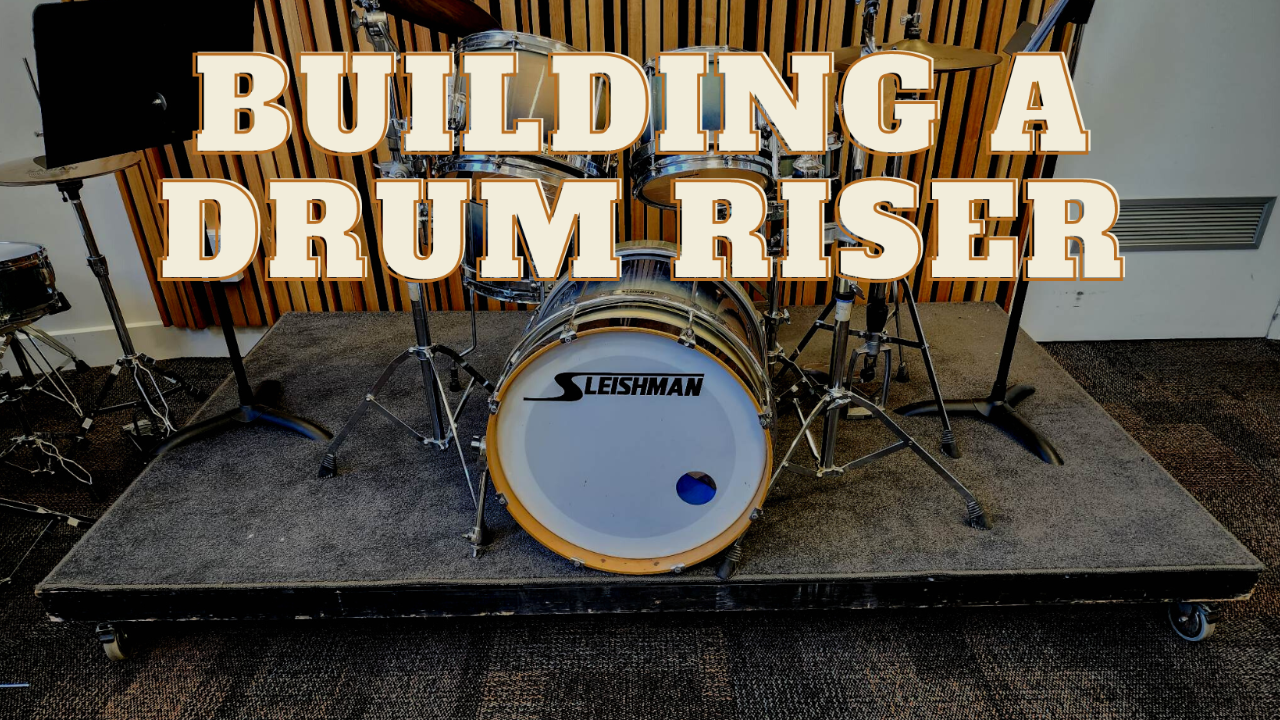
As a drummer, having a drum riser can make a big difference in your performance. A drum riser is essentially a platform that elevates your drum kit off the ground, providing a number of benefits. First and foremost, it makes it easier for you to be seen by the audience, which can help you connect with them and put on a more engaging show. It also helps to improve the sound quality of your drum kit, as the elevation can help to project the sound more effectively.
If you're considering building a drum riser from scratch, there are a number of steps that you'll need to follow. Here's a detailed guide on how to make a drum riser from start to finish.

Step 1: Plan your design
Before you start building your drum riser, it's important to plan out your design. Think about how large you want the platform to be, and how high off the ground you want it to sit. Consider the weight of your drum kit and any additional equipment you might be using, as this will impact the strength and stability of your riser.
Step 2: Gather your materials
Once you've planned out your design, you'll need to gather the necessary materials. Here are the materials you'll need:
- 3/4-inch plywood sheets (enough to cover the surface area of your drum riser)
- 2x4 lumber (enough to build the frame of your drum riser)
- Wood glue
- Wood screws
- Drill
- Circular saw or jigsaw
- Sandpaper
- Paint or sealant
Step 3: Build the frame
Start by building the frame of your drum riser using the 2x4 lumber. Cut the lumber to the appropriate lengths, and use wood glue and screws to join the pieces together. Make sure the frame is level and square, as this will impact the stability of your drum riser.
Step 4: Add crossbeams
Once the frame is built, add crossbeams to provide additional support. These can be placed horizontally between the vertical supports or in an "X" pattern to improve stability.
Step 5: Cut the plywood sheets
Cut the plywood sheets to the appropriate size using a circular saw or jigsaw. Sand the edges of the plywood to ensure a smooth finish.
Step 6: Attach the plywood sheets
Attach the plywood sheets to the frame using wood screws. Make sure the screws are spaced evenly and sunk into the wood to avoid any protrusions that could scratch your drum kit. If you want a smoother finish, you can countersink the screws and use wood filler to cover the holes before sanding.
Step 7: Paint or seal the riser
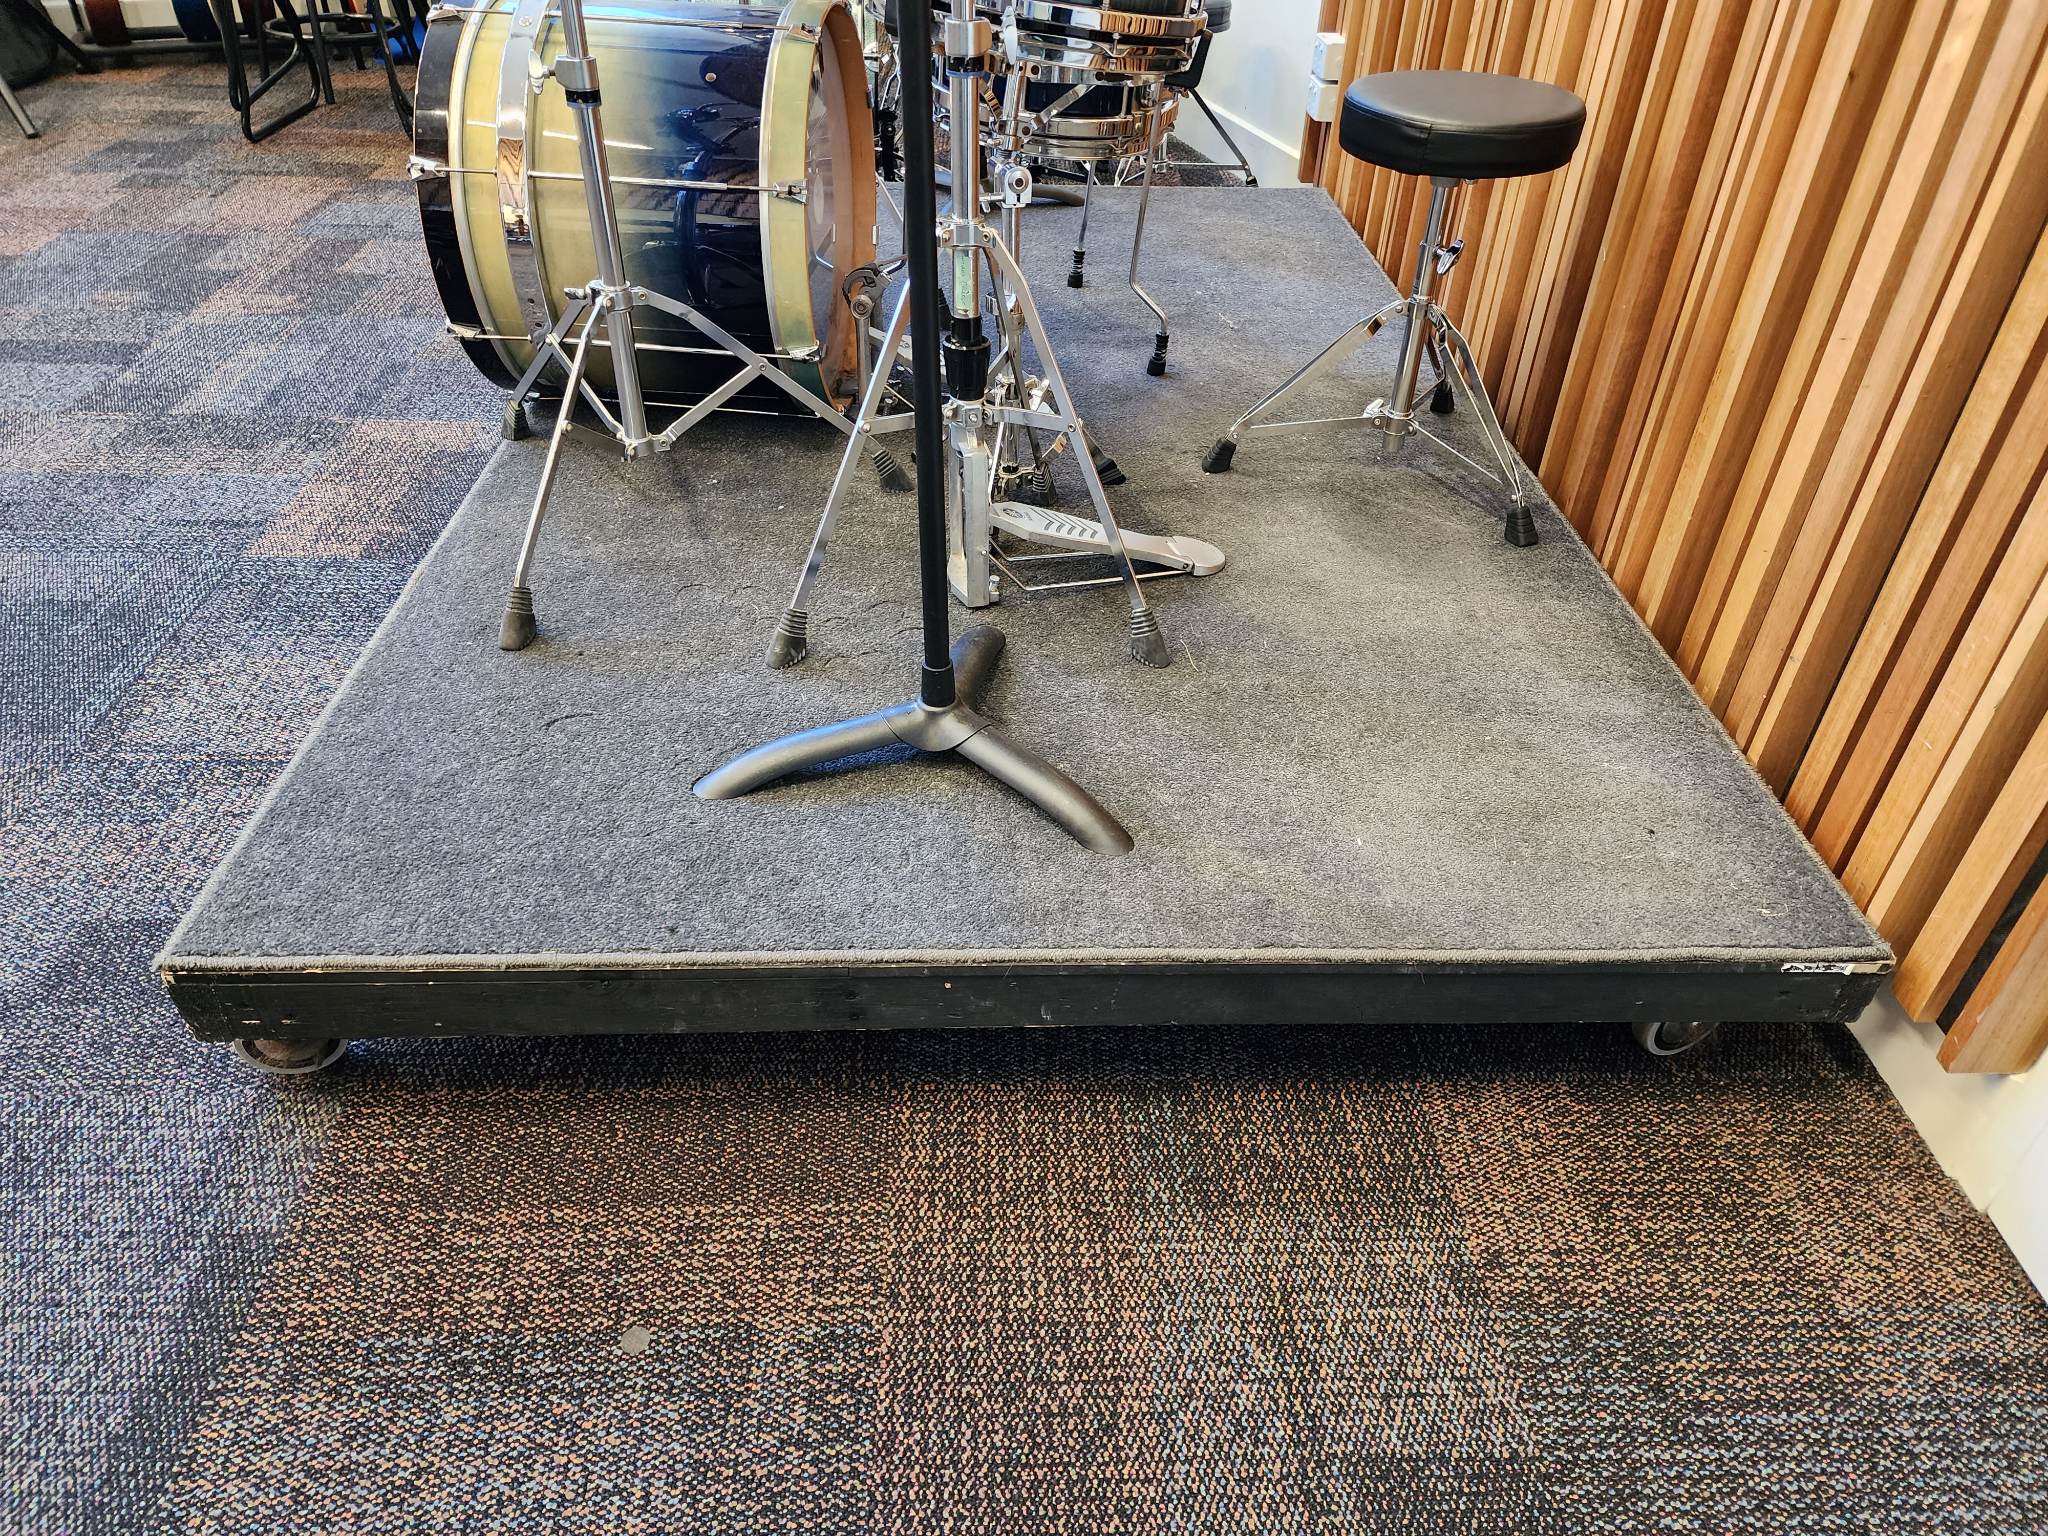
Once your drum riser is complete, you can paint or seal it to provide a smooth, finished look. You can also add any additional features, such as wheels or brakes for safety, if desired.
When building a drum riser, it's important to consider the strength of different materials. Plywood is a good choice for the surface of your riser, as it is strong and durable, but not too heavy. The frame should be made from a sturdy wood, such as 2x4 lumber, which can handle the weight of your drum kit without bending or breaking.
If you want to add wheels to your drum riser, you'll need to use heavy-duty casters that can support the weight of the riser and your drum kit. Be sure to include brakes on the wheels to prevent the riser from rolling around during use.
In terms of comparing a homemade drum riser to a purchased one, there are a number of factors to consider. One of the main benefits of building your own drum riser is that you can customize it to your exact specifications, including the size, height, and any additional features you might want. This can help to create a more comfortable and personalized playing experience. Additionally, building your own drum riser can often be more cost-effective than purchasing one from a reputable company, as you can save on the cost of labor and materials.
However, there are some downsides to building your own drum riser as well. For one, it can be a time-consuming and labor-intensive process, requiring a good deal of woodworking skills and knowledge. Additionally, there is always the risk of errors or mistakes in the building process, which can impact the safety and stability of the drum riser.
Buying A Commercial Drum Riser
In comparison, purchasing a drum riser from a reputable company can offer a number of benefits as well. For one, you can be sure that the riser is built to a high standard of quality and safety, as it will have been rigorously tested and certified by the manufacturer. Additionally, many drum risers come with additional features, such as adjustable heights, built-in cable management, and easy setup and breakdown options.
Some popular manufacturers of drum risers include Gibraltar, DW, and Tama. These companies offer a range of different models to choose from, each with its own set of features and specifications. For example, the Gibraltar GRS-125C is a popular choice for its sturdy construction, adjustable height, and integrated cable management system. The DW Drum Riser is another popular model, offering a lightweight and portable design that can be easily set up and taken down for gigs.
Ultimately, the decision of whether to build your own drum riser or purchase one from a reputable company will depend on your individual needs and preferences. If you have the necessary woodworking skills and are looking for a more personalized and cost-effective solution, building your own drum riser can be a great option. However, if you prefer the peace of mind and additional features that come with a professionally built drum riser, purchasing from a reputable company may be the way to go.
In conclusion, building a drum riser from scratch can be a fun and rewarding project for drummers who want to enhance their performance and create a more personalized playing experience. By following the steps outlined above, you can create a sturdy and reliable drum riser that will provide years of use and enjoyment. Just be sure to take your time, use high-quality materials, and consider the strength and stability of each component to ensure a safe and reliable final product.
